Water Sump Float Testers
for testing the emergency shut-down system on aircraft refueling systems
GTP-1787
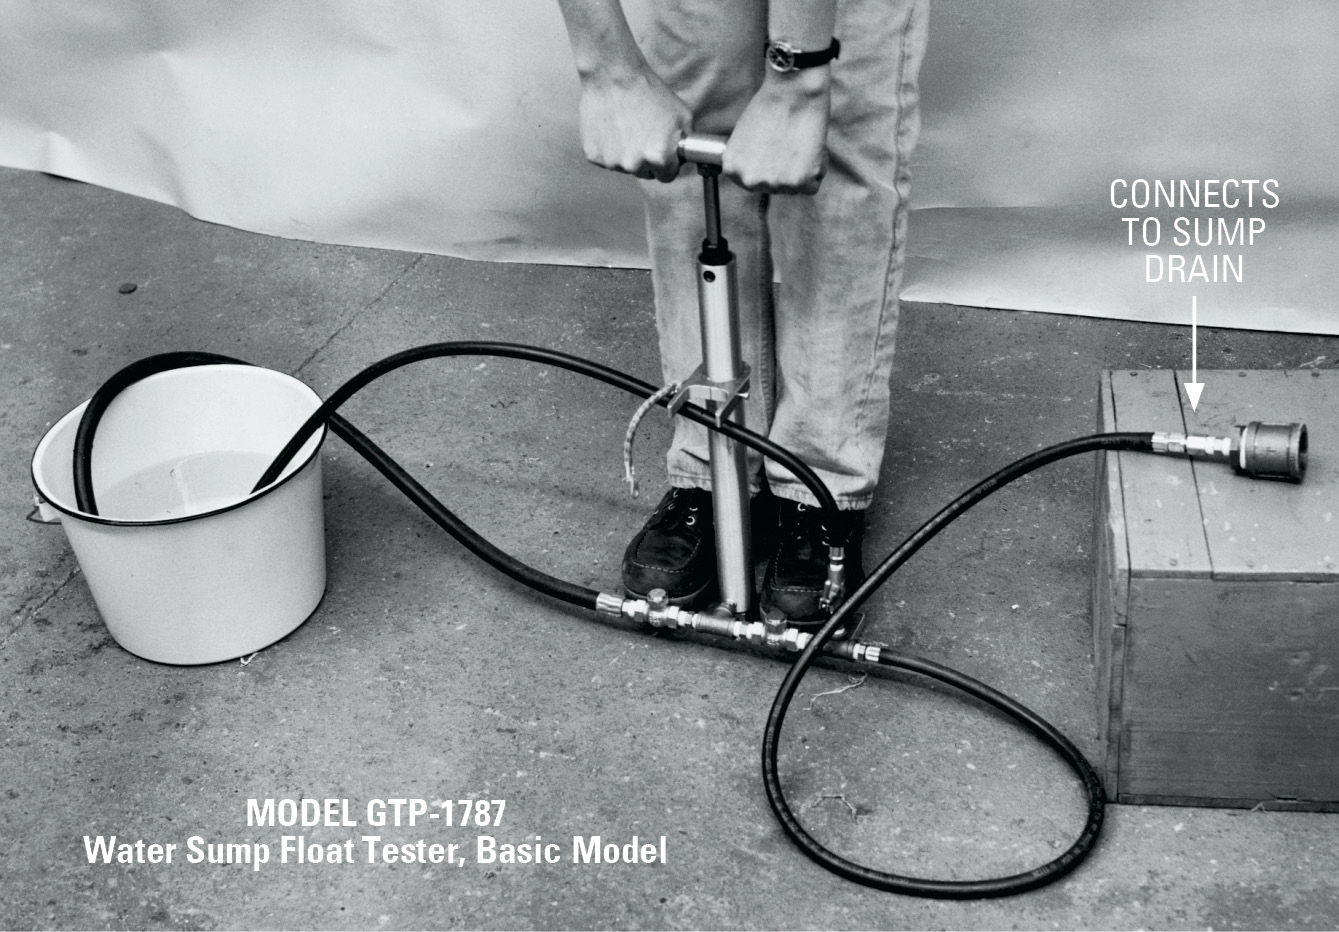
Water Sump Float Tester, Basic Model
A controlled volume of water is slowly pumped by hand into the filter separator sump. If the emergency shut-down system is operating correctly, fuel flow will stop automatically when the level of water in the sump reaches the sensors. This test is performed while the fuel system is operating.
When the test has been completed, and while there is still pressure in the fuel system, the operator opens a drain valve that directs the liquid from the filter separator sump to the bucket (Model GTP-1787) or to the transparent measuring container (Model GTP-1799). Any fuel that is drained will float on the water. The operator can then confirm that all of the water that was injected into the sump has been removed.

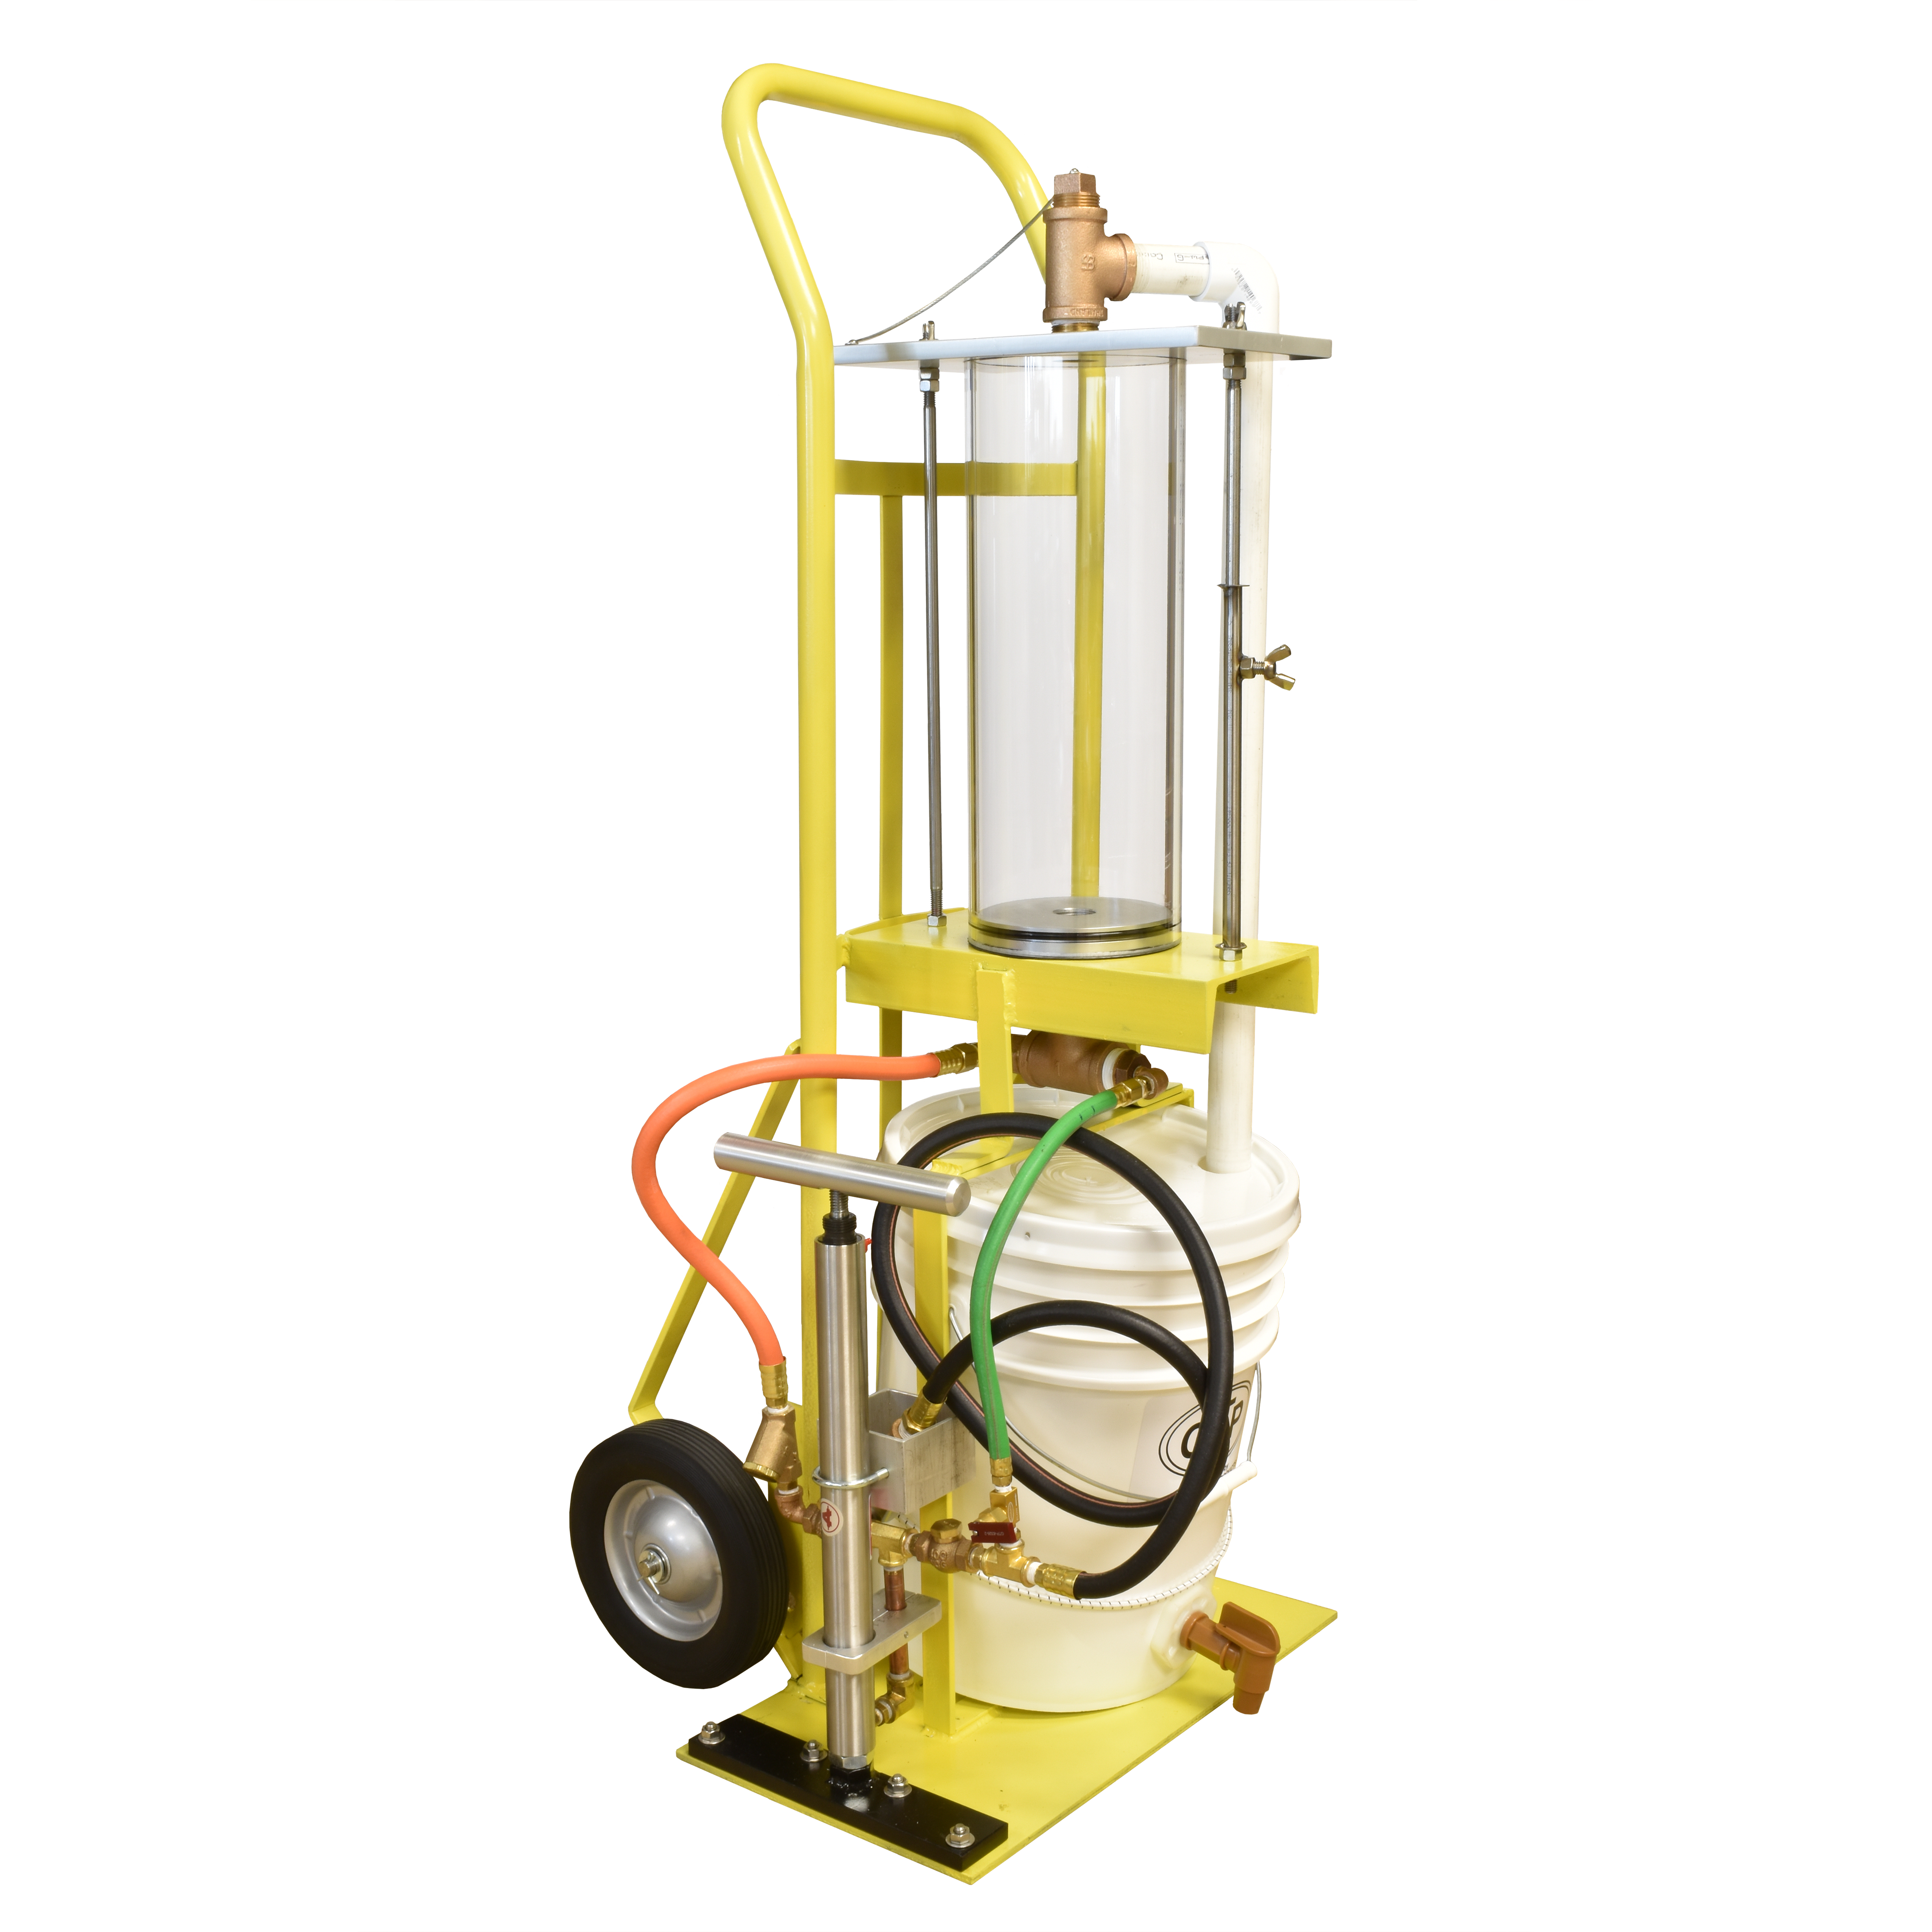
Model GTP-1799
Tester with 2-wheeled Cart
A transparent measuring container at the top has an adjustable level indicator so that the operator can see that all of the water that was pumped into the filter separator sump has been recovered. The water filling port is at the top – see the chained plug. An overflow pipe carries excess fuel to a 5-gallon slop collector on the lower platform. See the drain valve for emptying slop collector.
Constructed with materials that will not rust or corrode in water, this specially-designed apparatus can be stored for long periods with clean water inside without danger of malfunction. Stainless steel and brass are the primary materials. The hoses are pressure rated for 250 psi, five times higher than is expected in a fueling system. Buna-N is used in the hose tube while Hypalon® is the cover material.

General Discussion
Testing of water sump controls has been a controversial subject for many years (refer to GamGram Number 1). Some operators are afraid to pump water into the sump to test the system because they fear “human failure,” resulting in water getting into an aircraft. However, if these systems do not perform correctly, the filter separator cannot do its job of preventing water from getting into the aircraft. In a typical 600 gpm filter separator, the separator elements will be underwater if 5 gallons are collected – any additional water goes into the aircraft.
Some operators rely on the procedure of checking the sump drain for the presence of water after each refueling operation. This is surely a good practice but it is subject to “human error.” Other operators use float testers to check the operation of the control circuit. This good practice checks everything except the float. Periodically, the float must be tested to ensure that it will float on a fuel/water interface.
From the above comments, the conclusion is that periodic injection of water to test the entire system offers the greatest reliability.
Testing Procedure
- Place a measured volume of clean water in a bucket or graduated container. Mark the level of water on the container. See note under Step 4, below.
- Attach the swivel coupler to the water drain outlet of the filter separator.
- Start fuel flow through the system. A refueller truck can be recirculated. A hydrant cart must dispense to tankage.
- When normal flow rate and pressure have been established. open the water drain valve and pump water into the filter separator sump.
- NOTE: The volume of water required to activate the float or sensor in the filter separator depends on the design of the sump. The volume must be determined by a test for each piece of equipment. To insure against contaminating the flow system, the operator must not inject more than this amount of water.
- If the emergency shut-down system operates properly, fuel flow will stop automatically. If it does not stop fuel flow, the system must be repaired before the aircraft can be refueled.
- To remove water from the sump after the test, open the small toggle valve with the return hose in the water container. Allow some fuel to flow into the container to be sure that all of the injected water has been returned. Close the toggle valve. When the water has settled to the bottom of the container, the water level should be at the original mark as created in Step 1.
- Close the water drain valve and remove the swivel coupling.

